Setting up custom SAML in Ping Identity
- Enterprise
Note: only an admin of your Ping Identity organization can create the application.
Setting up a custom SAML application in Ping Identity
-
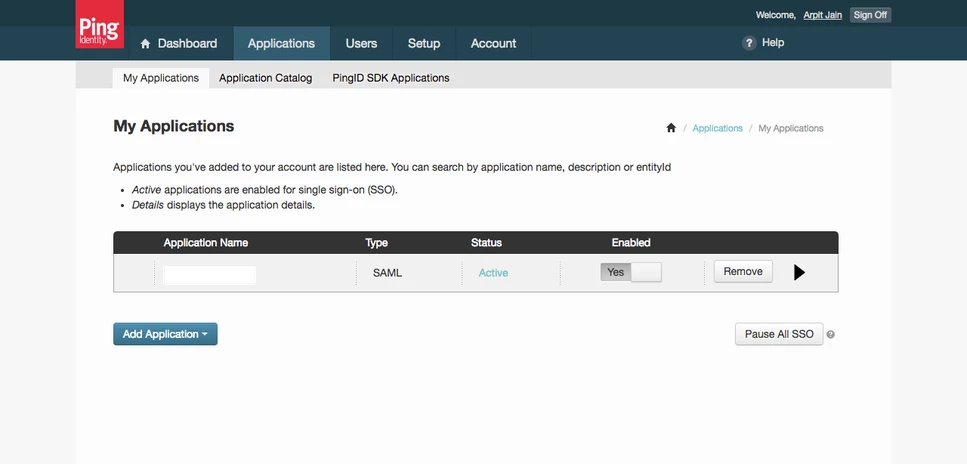
From the Ping Identity admin console, select the Applications tab.
-
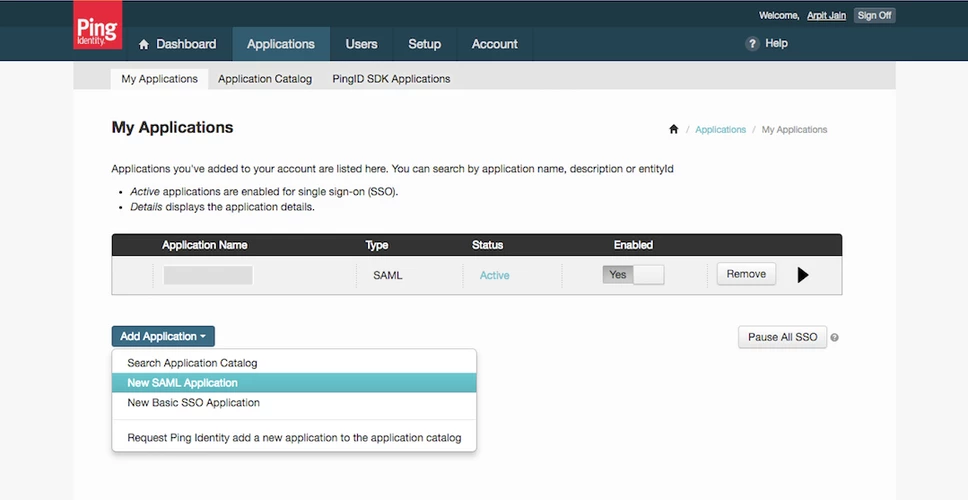
Under the My Applications tab, find the Add Application dropdown and select New SAML Application.
-
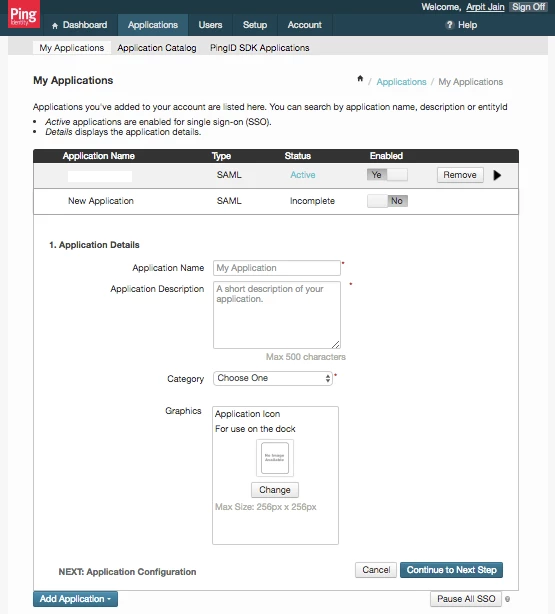
Fill in the required application details and continue to the next step.
-
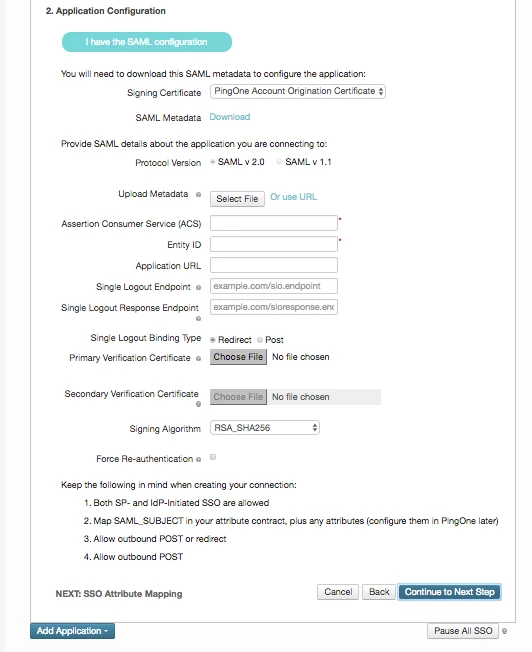
Download the SAML metadata file, and enter your Postman service provider details. These details can be found on the Postman Edit Team Details page.
Field Value Protocol Version SAML v 2.0 Assertion Consumer Service collect it from the Postman team details page Entity ID collect it from the Postman team details page Leave the remaining fields blank or with the default value, and continue to the next step.
-
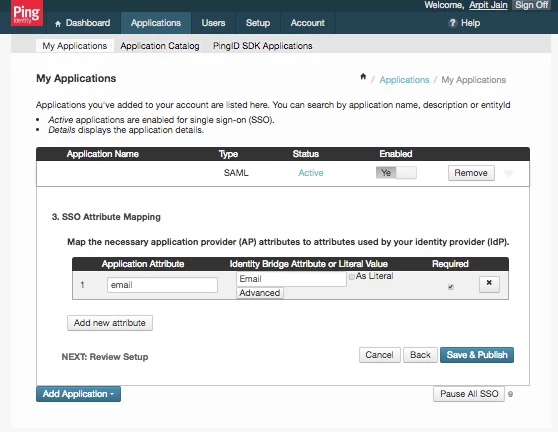
Add email as an application attribute and map it to Email. Click Save & Publish.
-
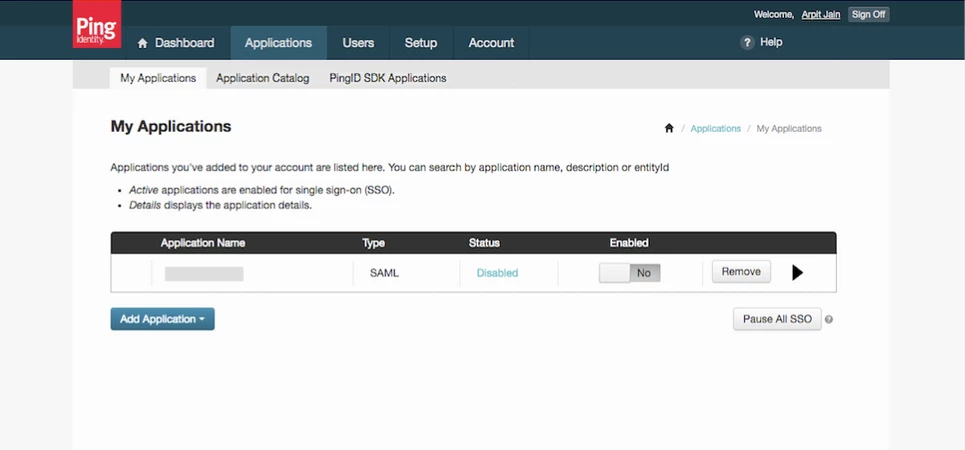
After configuring all the details, enable the new SAML application with the Enable toggle.
-
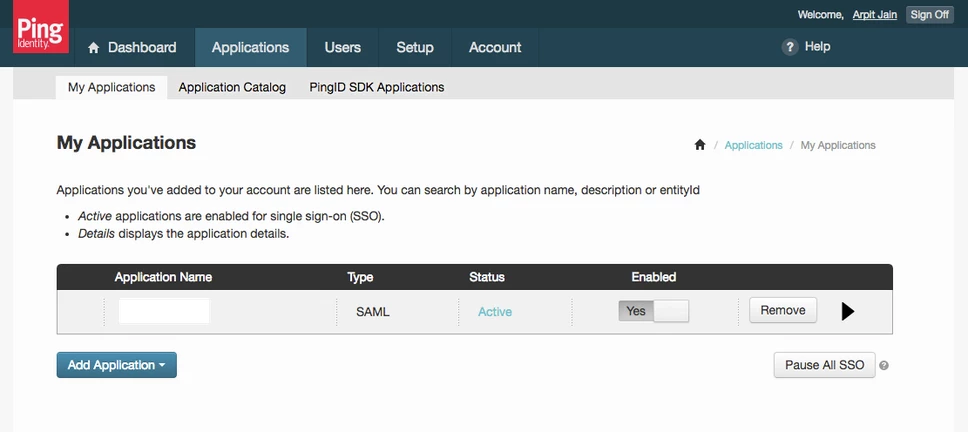
Once enabled, the status will show as Active for the application.
-
Once the setup is completed, submit your Identity Provider’s details to Postman. Copy the
Identity Provider Single Sign-On URL,Identity Provider Issuer, andX.509 Certificatefrom the downloaded SAML metadata file and enter these values on the Postman Edit Team Details page within the Ping Identity Provider Details modal. For more details on this last step, review setting up SSO in Postman.
-
Collection runs
- Intro to collection runs
- Starting a collection run
- Using environments in collection runs
- Working with data files
- Running multiple iterations
- Building workflows
- Sharing a collection run
- Debugging a collection run
- Command line integration with Newman
- Integration with Jenkins
- Integration with Travis CI
- Newman with Docker
- Notifications
- Intro to Enterprise
- Audit logs
- Running monitors from static IPs
-
Single sign-on (SSO)
- Intro to SSO
- Configuring SSO for a team
- Logging in to an SSO team
- Configuring Microsoft AD FS with Postman SSO
- Setting a Custom SAML in Azure AD
- Setting up custom SAML in Duo
- Setting up custom SAML in GSuite
- Setting up custom SAML in Okta
- Setting up custom SAML in Onelogin
- Setting up custom SAML in Ping Identity